Concrete basically comprises sand, cement, water, and gravel. While the water in the slurry evaporates, the remaining components turn into a hard and massive slab. But the problem is that the process of curing often makes the concrete slightly shrink and leads to hairline cracks.
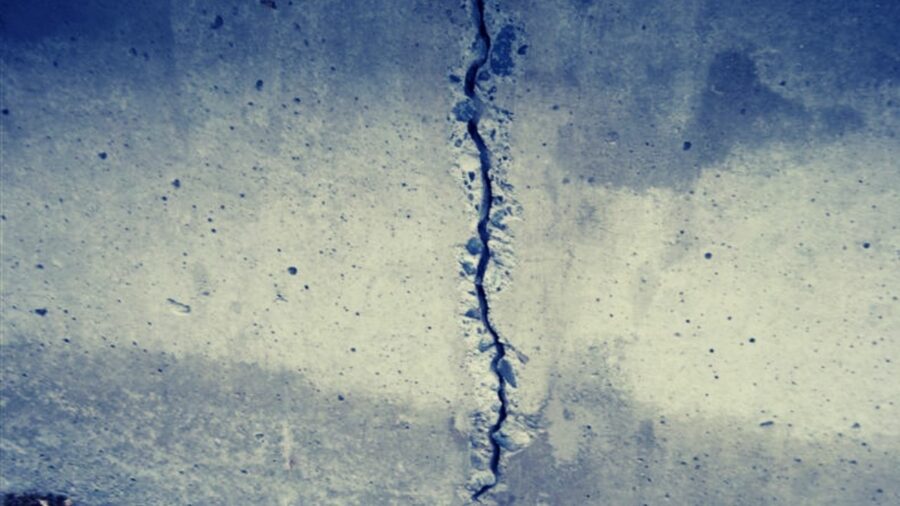
Are wall cracks a sign of structural problems?
Larger cracks normally happen when the ground below moves or when a house settles. Although these types of cracks are not a threat to the structural integrity of a house, they make way for groundwater, radon gas, and insects.
In case you find large and recurring cracks at your house, don’t ignore the problem. Seek a professional and have the place inspected and repaired as soon as possible. There are a number of patching products like hydraulic cement that can do a great job in fixing a basement wall crack.
Below are eight ways you can use epoxy injection to repair a basement wall crack:
1. Scrub it clean
The first step is to scrub the crack to remove any dirt or debris. The objective is to make sure that there is no loose concrete, old filler, or paint within the cracks. This will ensure that epoxy sticks properly without leaving any spaces. You can use a shop vacuum to eliminate the debris.
2. Use a nail to align injection points
Get 10d finishing nails and tap them into the crack. The purpose of the nails is to align the injection ports so that the entire crack is fully covered.
3. Mix the epoxy crack sealer
The next step is to open the epoxy sealers containers and scoop out exact amounts for parts A and B. You can use two different sticks to prevent contamination. Continue by mixing the two parts of a scrap board with the help of a clean putty knife until you see a grey color appearing.
4. Spread the sealer on the base
Smear some sealer on the base of one plastic injection port, careful enough not to plug up the hole within. Slide the port through one of the nails penetrating out of the cracks and push it to the wall. Use the same procedure to install the rest of the ports.
5. Mix and apply epoxy sealer
Continue the process by slightly mixing a bigger batch of the epoxy sealer and spreading it to the whole crack with a marginal trowel or a 1 ½ -wide putty knife.
6. Dispense the LRC epoxy
Properly mix the LCR epoxy with a plunger rod found on the kit and put the LCR cartridge in a caulk gun. Start dispensing the epoxy into the cracks beginning with the lowest injection port.
7. Fill up the ports
Continue pressing the trigger until your squeeze out the epoxy from the port. After that, remove the gun and unplug the port that’s already filled up.
8. Cut necks of the ports
Give at least five days for the LCR to cure and use a hacksaw to cut off the necks of the ports. In a nutshell, there are a number of ways you can fix a basement wall crack.