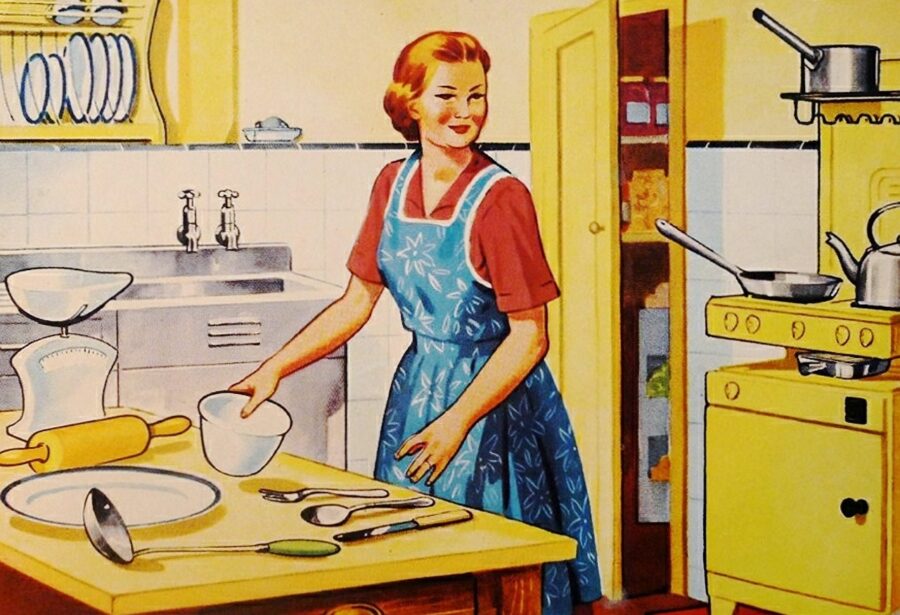
Anybody who’s moved houses before knows the kitchen is the most time-consuming area to pack. Aside from the range of individual items to eliminate from the drawers and cupboards, the difficulty factor in this area is high due to irregular-shaped objects and breakable items.
However, it’s more challenging to pack a kitchen if it’s a long-distance move. For example, if you’re moving to Idaho, or any other state, you’ll need to be extra careful in packing your precious kitchen items to avoid necessary damage during the relocation process.
If you don’t know where to get started, here are the steps to pack a kitchen for a long-distance move:
1. Decide Whether To Hire A Professional
Packing your kitchen is never an easy task. Although it’s possible to do it by yourself, it’s wise to work with professionals instead. There are many reasons why hiring a professional is a better choice, and these include the following:
- Packing can be stressful and may cause an immense amount of anxiety, especially if you want to move into your new place immediately. You can be at peace with professionals, knowing that your kitchen items will be appropriately packed. As they start packing, you can do other important things, like taking care of your children, transferring your utilities, and keeping your regular work and home schedule before moving.
- Packing a kitchen often requires packing materials, and professionals have the best supplies and know how to use them. Nothing gets past the packing professionals in terms of bubble wrap, foam cushioning, furniture covers, boxes, and other specialty packing materials.
- Whether you have a simple kitchen, or even a mid-century modern kitchen, professionals know how to pack items, regardless of their sizes and shapes. Even if you have odd-shaped kitchen items, you don’t need to lift a finger or take the risk of damaging something you treasure the most.
2. Start Decluttering
Regardless of your decision to whether or not to hire a professional, start your packing journey by decluttering. Before packing, decluttering may help you distinguish which items to pack, providing you more space for new items in your next house. This step is also essential if you’re moving to a property with a small kitchen or you’re planning to downsize.
Instead of packing everything into boxes as you empty your cabinets and drawers, lay out your items and evaluate whether you still need them. If possible, throw away duplicate items or donate them if they’re still usable. You can also dispose of anything broken or damaged.
Organizing while decluttering can help you put together an inventory of how many things are stored away in your cupboards or pantry. It also makes it easier for you to know what to toss, what to keep, and what you could use before you move.
3. Determine What Essentials You’ll Require
When packing a kitchen, you might want to keep your essentials separate from big boxes. Besides, you don’t want to pack up your kitchen, only to realize you didn’t leave yourself spoons or forks for dinner.
Set aside or have a mental note of the important kitchen items you want to keep on hand right after and before moving. Every member of your family will require a cup, plate, or any set of flatware. You must also keep out a couple of bowls.
Ensure to leave some dish towels, a sponge, dish soap, and other appliances that you might find handy when packing. These may all be packed separately in your essentials box on your moving day.
4. Gather Your Packing Materials
To pack your kitchen, you’ll require heavy-duty boxes in a variety of sizes. You’ll also need labeling markers, packing tape, and packing paper. To make things easier on yourself, you might want to invest in specialty dividers specifically designed for stacking and packing difficult items, like stemware.
In addition, you’ll need plastic wraps, which are beneficial to prevent your items from shifting around and keep them stacked together. If you don’t know what plastic wrap to purchase, the kind you often use for wrapping up leftovers is fine. However, it’s much better if you can find plastic wraps designed for packing objects.
The golden rule when acquiring packing supplies is that you’ll probably need more than you imagine. For example, if you have a family-sized kitchen, plan to get at least five small, medium, large, and extra-large boxes, and about four rolls of packing paper. You might need more of such materials in the long run, but it’s enough to get started.
5. Start Packing Your Kitchen
Now that you have your packing materials ready, it’s time to start packing. The easiest things to pack first are infrequently used items, including special event dishes, vases, and baking supplies.
While packing, have markers handy to label your boxes and create an inventory list to number your boxes. It’s also crucial to note that kitchen boxes may get heavy quickly as plates and glassware packed together may add up. For this reason, never overpack your boxes.
If in doubt, check how heavy your boxes are as you pack. Even if your movers are strong and have moving equipment to shift your items, heavy boxes are more susceptible to damage during transportation.
If you don’t know where to begin, follow this guideline below:
- Plates
When packing plates, wrap each one of them with packing paper and stack them up once you’re done wrapping them. However, make sure to have a stack of four plates only and keep the stack tightened using cling wrap. To reduce the risk of damage, place your plates horizontally in your box.
- Bowls
For bowls, the process is the same as with your plates. Group them in stacks of two and place them horizontally. When you’ve filled the box with heavier items, have another layer of packing paper before adding the second layer of items if the box isn’t very heavy. To protect your bowls, having some paper above them may protect them from possible damage during your move.
- Utensils
They should be wrapped in groupings of four to six to keep them uniform. They should be placed on the top part of your boxes.
Similar cutlery items must also be packed together tightly using a cling wrap. For instance, wrap spoons with spoons, and knives with knives. Make sure to place knives sideways, not facing upwards with the point towards the box’s opening.
For sharper knives, it’s worth packing them into big containers or wrapping them in a kitchen towel. However, don’t forget to secure them with rubber bands or packing tape.
- Glasses
If you want to know how to pack glasses, the golden rule to note is to never place them at the bottom of the box with significant weight sitting on top of them. But, they should be added to the second layer and must be wrapped individually. Wrap enough paper to protect the handles of your glasses or cups.
- Pantry Items
You can use small boxes for your pantry items, like canned goods. Things that contain liquid must be wrapped into plastic bags to avoid leaks. Then, stuff some paper between the glass jars of spices or condiments. The more you can reduce the number of food items you pack, the better.
- Large Appliances
Unlike small or medium-sized appliances, you need to allocate more time packing your large appliances. This is because you need to disconnect them from the water supply or gas mains. Even if you’re leaving some of them behind, you may need more time to clean them.
If you plan to bring them with you, be sure to empty or clean them before your moving day. More often than not, professional movers will retract your large appliances from the wall as long as they’re already disconnected.
- Small Appliances
A small appliance must be packed individually in boxes to prevent any necessary movement that may result in damage during transportation. For irregularly-shaped and expensive appliances, you must also ensure to unplug them ahead and get them ready for transportation.
If necessary, tape down the moving parts, disassemble some parts, and remove accessories. Then, add more packing paper or bubble wrap for padding inside the box.
6. Have A Special Consideration When Packing Fragile Items And Stemware
You may get a little extra with getting your fragile items ready. Wrapping each one of them carefully and placing them between the cardboard dividers will help protect every row from pressing against the other during the relocation.
It’s never a good idea to stack anything above your stemware, even if there’s room in your boxes. If possible, pack as much paper or bubble wrap in these and make sure to mark them as fragile. As you label the boxes for your fragile items, include arrows to indicate which side must be kept upright.
When packing your fragile items, always be generous with bubble wrap or packing paper for irregularly-shaped objects, like teapots. Using cardboard dividers will keep everything in the optimum position.
Bottom Line
Packing your kitchen often takes time. Give yourself at least a week to prepare everything, and make sure to follow the steps above.
If you’re too busy to pack your kitchen items and don’t want to risk your valuable items because you doubt your packing skills, never hesitate to hire professionals and let them do the job for you. Just make sure to hire the most reliable professional moving company that offers quality packing services at a reasonable price.